Here in the Midwest, there is still snow on the ground, but temperatures are on the rise, and it’s time to start thinking about gardens and, more importantly, getting seedlings started. We’ll be starting our seedlings indoors because the temperatures still drop below freezing at night, and to do this, we’ll need to build a box to grow them in. Rather than paying $10 to $20 for a premade tray, we decided to make our own out of garbage and recyclables around the house. Besides, paying for one would defeat the purpose of planting my own seedlings rather than just purchasing them at the farmer’s market for $1 a plant.
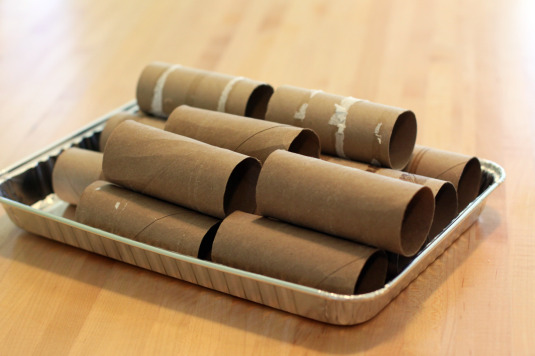
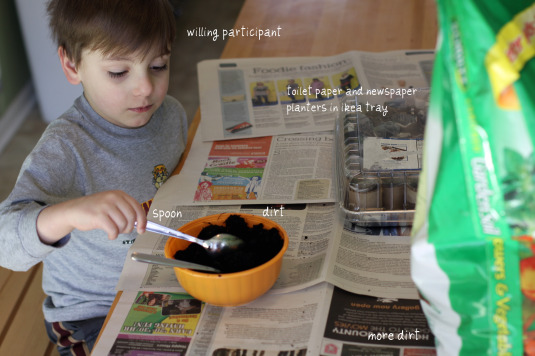
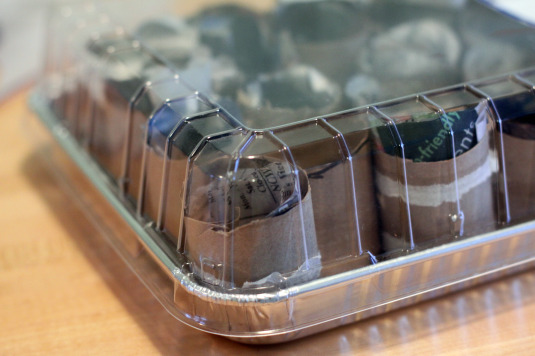
First, you’ll need a watertight tray. This one came with Ikea cinnamon rolls in it, picked up one day while we were picking up some necessities. The bonus here is the clear plastic top. While you don’t have to have a lid, the clear plastic one will act as a mini greenhouse for our tiny plants. (Pretend the lid is in the picture. You can see it below.) You’ll also need a few empty toilet paper rolls or paper towel rolls. These will become our pots.
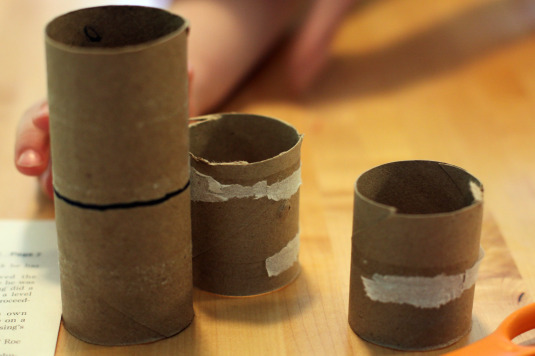
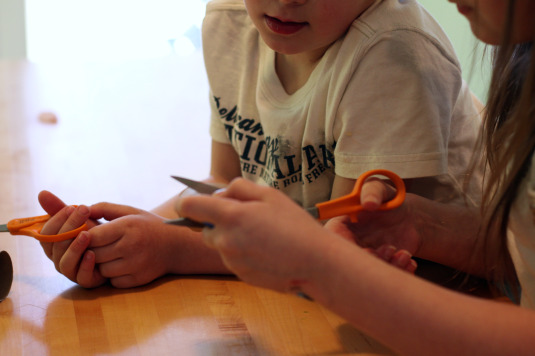
We need to cut the rolls so that they’ll fit under the lid of our little greenhouse. Cutting them in half gave us plenty of clearance to get the lid on.
This is a perfect teaching opportunity. Not only does this teach kids the importance of recycling and reusing what would otherwise be garbage, but it starts to emphasize the importance of eating locally and eating healthy as we plant foods that they will later see on our dinner table.
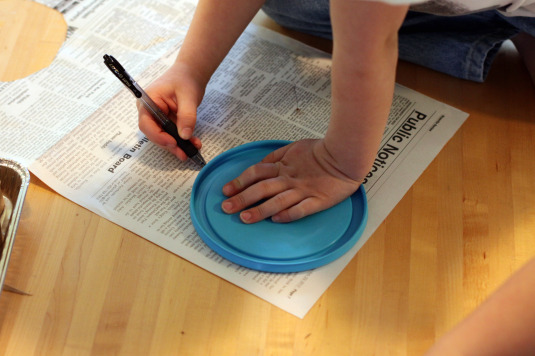
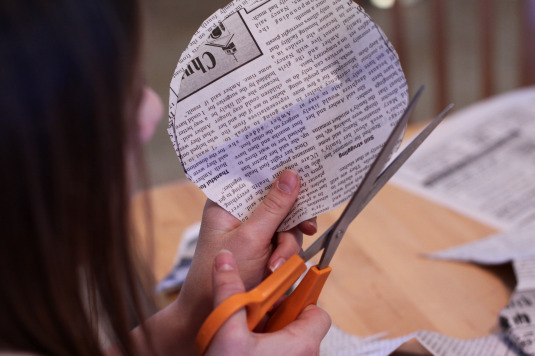
Next we need bottoms for our seedling pots. Using one of the free community papers that gets delivered here, we trace circles 5-6 inches wide and cut them out. Finding out whether your paper prints with soy-based or petroleum-based inks is as easy as making a phone call.
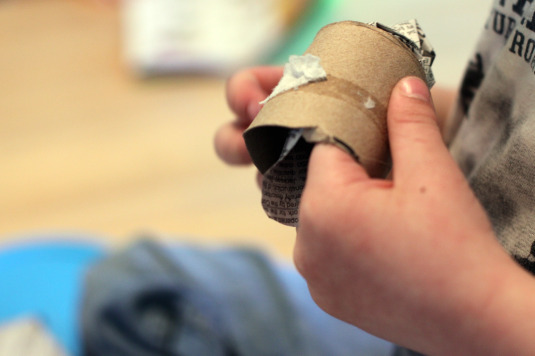
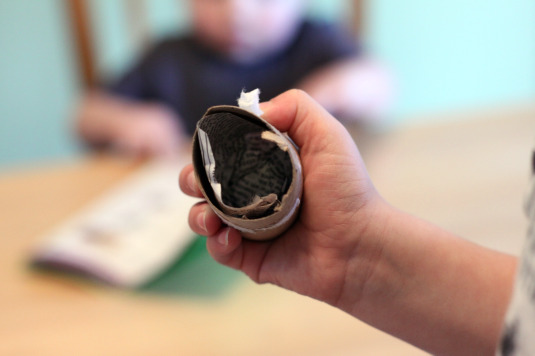
Slide the newspaper circles into the toilet paper tubes so that it covers the bottom and comes up the inside side of the tube.
And there you have it: a seedling pot.
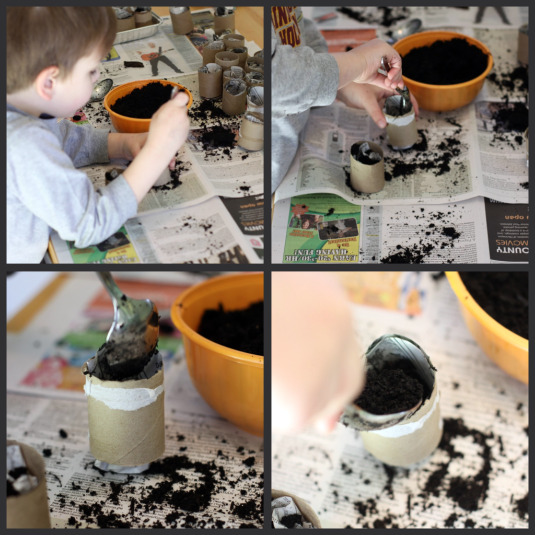
With our mini pots ready to go, we can get started with the filling. All you need now are your mini seedling pots, dirt and a spoon.
Be sure to fill them up 2/3 of the way and no more. We want to leave plenty of room for our seedling to sprout and start to grow.
In the bottom of the tray you can place an old rag, cloth or a few paper towels to help wick the water up into the plant. Then you just need to water directly into the tray and not each individual pot. We ended up with 33 seedling pots in one cinnamon roll tray. That’s all there is to it. A small time commitment and you have a completely recycled seedling tray ready to start plants for your garden.
Last year we had a lovely garden success, but some of our plants could have used more space, the zucchini was out of control and I just wanted more. So we’re making a raised bed garden this year in addition to the one we built last year, you know, once the snow melts. Watch for all of our garden updates this spring!
Have you started your garden yet?
Reader Interactions
Comments
Trackbacks
-
[…] How to Make a Seedling Tray Out of Recycled Products, Food for My […]
-
[…] you have a specific project or use in mind (such as a seedling tray, a set of puppets or using them to paint), keeping every cardboard toilet paper roll could quickly […]
-
[…] Read More… […]
-
[…] Does gardening sometimes seem like an expensive proposition once you buy all the supplies? Not with these on-the-cheap tips for watering deeply, keeping the pests away, and growing amazing tomatoes with at least five repurposing ideas for the garden, plus start your seedlings with zero investment with this idea. […]
-
[…] How to Make a Seedling Tray Out of Recycled Products from Shaina @ Food for My Family […]
-
[…] you have a specific project or use in mind (such as a seedling tray, a set of puppets or using them to paint), keeping every cardboard toilet paper roll could quickly […]
Leave a Reply
You must be logged in to post a comment.



Your pictures are lovely. This is a great idea! This will be our first year with a vegetable garden and we’re going to start with seedlings instead of seeds. We didn’t want to take on too much learning at once ;o) I’m doing lots of reading for next year though. I can’t wait to start planting. Thanks for the inspiration 🙂
.-= Sarah @ Mum In Bloom´s last blog ..KC Food Circle 12th Annual Exhibition of Farmers =-.
That’s a neat idea Shaina,,,I use the purchased trays but I re-use them year after year. I don’t start my seedlings until the end of March or beginning of April. By the end of May they are ready for my Minnesota garden.
What a fantastic idea!! We just planted out potatoes in recycled plastic pool (that Daddy whacked with the weedwacker putting a big hole in the side) and started some seeds today. We had leftover peatpots I bought on sale at the end of season a couple years ago. We used an old plastic box with a clear lid for our little seeds. We’ve had 2 raised beds for the last couple years. This year I want to grow MORE to can to last through the winter so we’re digging in as well as having 2 raised beds. We’ll probably do herbs in one and I haven’t figured out what else in the other yet. Can’t wait to hear more about your gardening adventures. This is my favorite time of year!!
.-= Jackie´s last blog ..Garden Planning Preschool Style [Project] =-.
Love, love, love this idea!!! We are in the Midwest as well, and it’s been hard for me to adjust to the shortened growing season. This is a great way to get a head start on the growing, give the kids something to put their hands in early, and be ready when we can plant. Plus, the added benefit of pulling those items out of the recycle bin and putting them to good use!
I love the idea, we are starting seeds indoors this year too. What seeds did you use?
(Note to self: pick up cinnamon buns tomorrow to aid healthy eating come summer!)
Love your idea, and I will be incorporating it this weekend when I plant my own seeds! Thanks for saving me the bucks on buying a tray and pellet pots! 🙂
.-= Debbie K´s last blog ..Envelope, Jar or Tin Can? =-.
Hey really great website!!! Man .. Wonderful .. Awesome .. I’ll bookmark your blog and consider the feeds also…
what a great idea my kids will love it
Thanks, I heard you could make seed trays out of paper, but I never thought of toilet paper rolls. That’s even easier than I was expecting. My husband brought home some seed trays from the nursery, but they’re too shallow for the artichokes I want to start this month – those need four inches depth. So toilet paper rolls will be perfect!
after the seedlings are planted and watered and the clear plastic lid is in place how often do I need to open it-won’t the seedlings stay too wet if it’s closed all the time?
I keep it open, so the tray is just resting on top. If they seem to be steaming up, you can always cut slits in the plastic to ventilate it.
When you transplant them , do you put the roll into the dirt or peel it off?
You can put the roll in the dirt.
The further I read, the more the better your
content is. I’ve covered lots of the other sources; nonetheless, just here, I’ve found legitimate information with
such necessary facts to keep in mind. I suggest you’ll print articles with numerous topics to update our knowledge, mine specifically.