My employer was generous enough to give me Friday off in addition to Monday for Memorial Day this year, so I’ve decided to pass the generosity on with a recipe guaranteed to elevate your backyard BBQ to “best ever” status. Today we’re doing a Twin Cities original – the Juicy Lucy.
Now, even many native Minnesotans may be unsure as to what that is. I have to admit that I was in the dark until I moved to Minneapolis eight years ago from Southern Minnesota. One of the first places I was taken to was Matt’s Bar, which is one of a few places that claims to have invented the Jucy Lucy (No “I”).
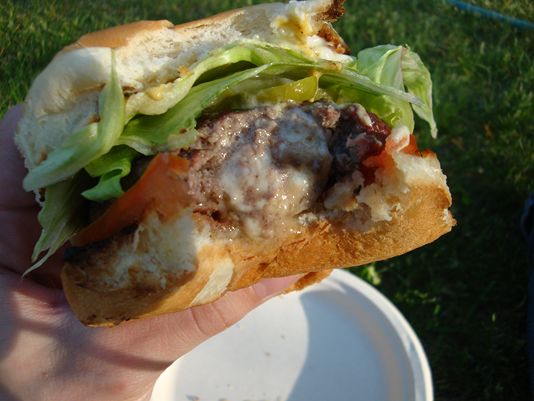
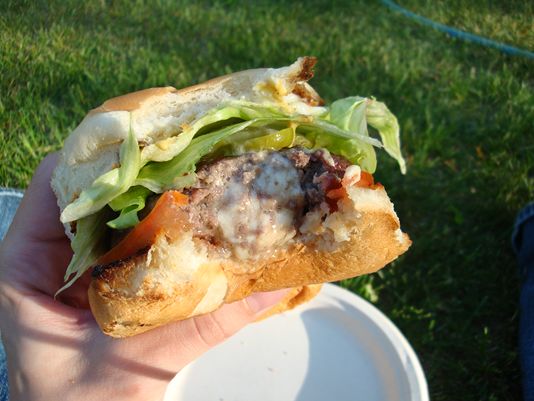
The concept is simple, take two hamburger patties and seal cheese in the middle between them, then grill them up until the cheese reaches a temperature similar to that of the sun. Then serve it with a warning to the consumer that if they don’t wait at least ten minutes before eating it that they will suffer severe burns of the tongue, mouth, throat, stomach, hands, lips, eyes and hair. True story.
It is such a cruel experience (having food in front of you that you can’t eat), but as I’ve told many times, “your patience will be rewarded.” And it is. When allowed to rest for a time, the cheese reverts from a plasma state back to a perfectly melted viscous filling loaded with flavor.
While this isn’t the most difficult item you can prepare, there is definitely a moderately intense method to getting right, but trust me, it is worth every second. Besides, you have Monday off. That’s bonus time; why don’t you use it to put together the most bangin’ burger that’s ever graced your grill….let’s get started.
From the top. Meat selection. Meat selection is the most critical component of any burger and one that a lot of people overlook. It is easy to just go into the grocery store and buy the ground beef that is on sale, or conversely, one might buy a more expensive variety because, well, if it costs more, then it must be better. Neither method is correct. I can’t remember if I’ve told you this publicly before but when it comes to beef, I live by one rule (with some exceptions) FAT = FLAVOR. But when it comes to burgers, this is only half of the equation.
The other consideration is for the propensity of fat to cook away, thus leading to overall volume reduction. I’m sure that you all know what I’m talking about. You go to someone’s grill function and you end up being served something that is closer to a meatball than a burger. This happens because the meat was too fatty and they weren’t patted thin enough. The other side of the coin is the burger that is flavorless, dry and broken because it stuck to the grill. This happened because there was not enough fat in the meat; it loses elasticity and all the fat that was in it cooked out. Both situations are unacceptable and easily avoided by reading the label.
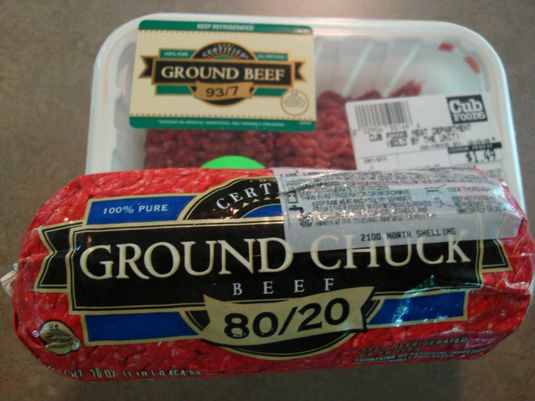
Depending on where you buy your meat, it may be labeled slightly differently. But somewhere on the packaging it should tell you the lean/fat content. It can range anywhere from 75/25 up to 97/3 and most places in between. In addition to the previous two, you will most likely see 80/20, 93/7 and maybe a few others. If you can find 85/15, get it. I think this is the best ratio for burgers. Enough fat for flavor and to prevent sticking, but enough lean to keep its shape and texture.
Now, you may not be able to find 85/15. I couldn’t, but luckily, there are ways around this. Since I was making two pounds worth of burgers, I created a custom blend using half 80/20 and half 93/7. According to my math, this resulted in a final ratio of 86.5/13.5 which yielded a very fine product.
Sorry I’m runing long here, but I just get so emotional about the fat content in ground beef. Now I feel better having cleared this all up. It’s Memorial Day weekend. Let’s get to it.
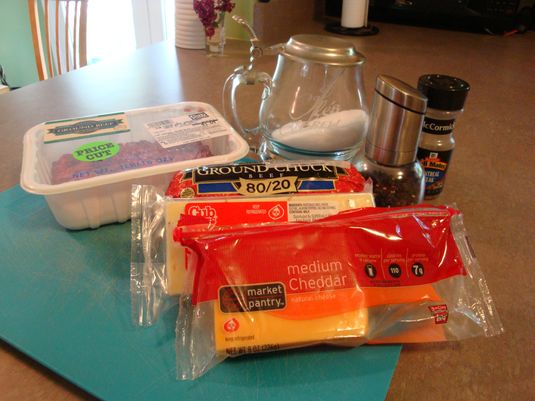
You will need:
Ground beef – 85/15 if you can get it, otherwise err on the 80/20 side and pat them a little bigger than you normally would.
Cheese – whatever you want. One of the best parts about the Juicy Lucy is getting creative
Kosher salt
Fresh black pepper
Montreal Steak Seasoning (if you have it, but don’t make a special trip)
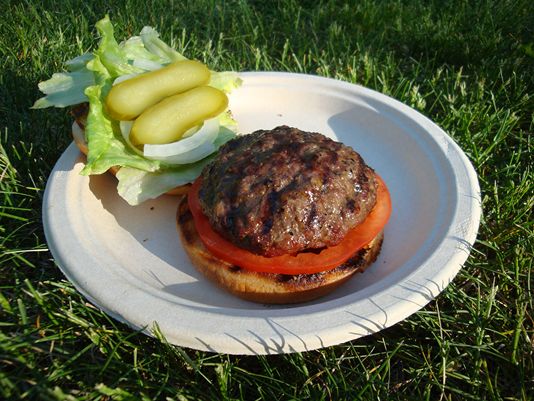
Plus fixin’s. I’m a traditionalist on most burger occasions. Lettuce, pickle, onion, tomato.
Condiments. I’m also a traditionalist here. Ketchup, mustard, mayo.
What is most important here is technique, and again, trust me, it’s worth it.
I like to get my cheese sliced first so that it is ready when I need it. So if you agree, slice your cheese, if not, do it later.
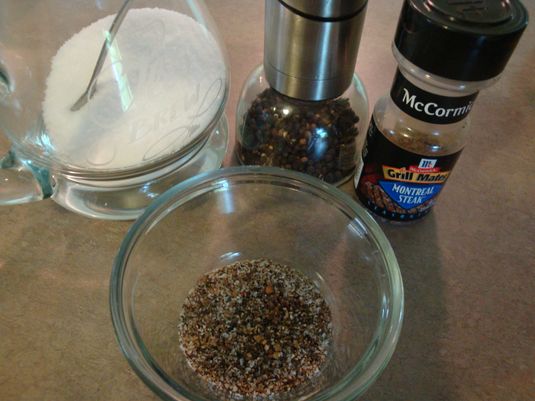
Mix equal parts salt and pepper, and add a few dashes of the Montreal, this is only for a tiny flavor boost. Too many times I’ve had burgers where all you can taste is the seasoning. This is not right. We eat cows because they taste so good on their own; why mess it up with a lot of extra stuff? Thanks.
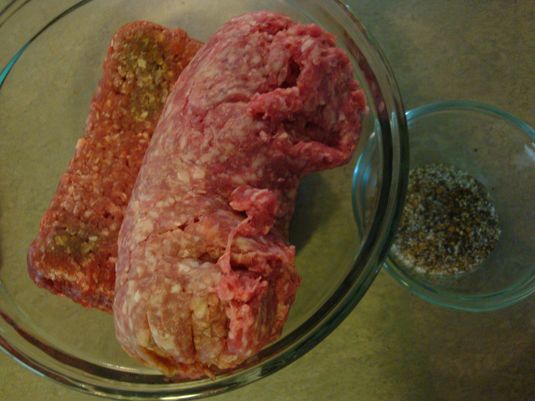
Get your ground beef into a bowl, add the seasonings and mix fully. You can use a variety of techniques, but I find that nothing works better than the two hands God gave you.
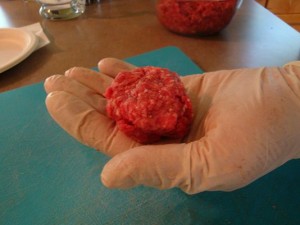
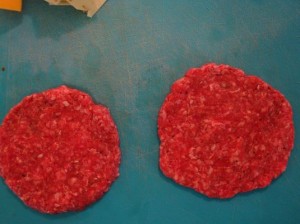
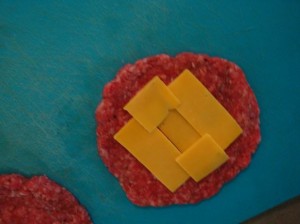
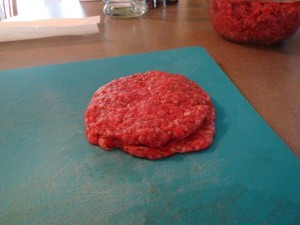
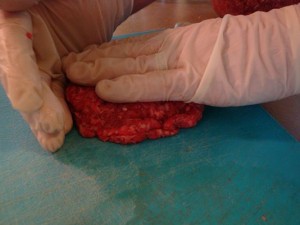
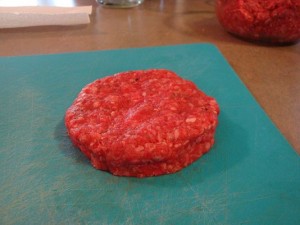
Once everything is thoroughly mixed it’s time to pat. Today I’m making six burgers out of two pounds of beef. That means that each one will be a third pound, so since we are going two patties per burger, that means each patty should be about 1/6 pound. Pat out two patties nice and round and fairly thin. A few slices of cheese onto the middle of one and then add another patty to the top. Take care not to cause any tears in the patties.
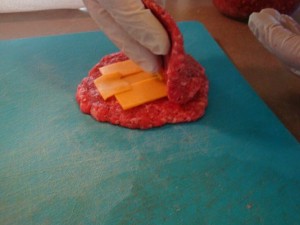
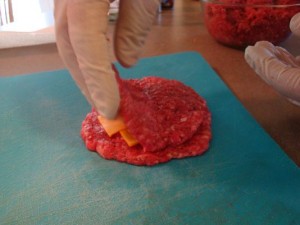
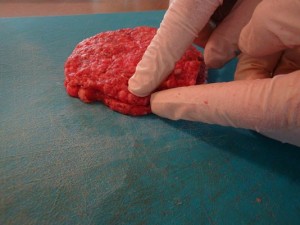
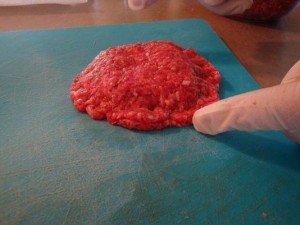
The most important part of this operation is getting a good seal between the two patties. I start by pressing the edge all the way around and then folding it over itself a bit. In the end you should not be able to see any evidence that there were two patties. This indicates a good seal. If you don’t seal them well, you will have cheese all over the bottom of your grill and none inside – your Lucy will be less juicy.
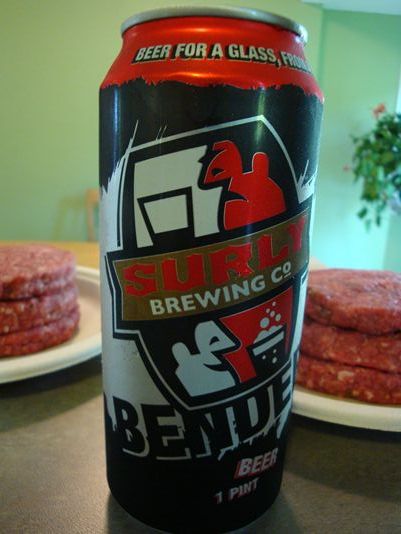
When all your patties are done, it’s time to open a Surly Bender and head out to the grill, which, if you lit it at the proper time, will be around 400 degrees.
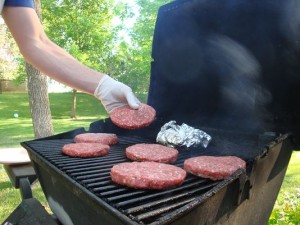
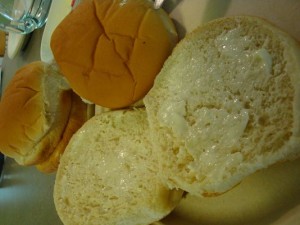
Very carefully, lay these out on the grill and close the lid. Head back inside and prepare any fixin’s, sides and put some butter on your buns. I always toast my buns because, as long as you have the grill on anyway, it really isn’t that much more work.
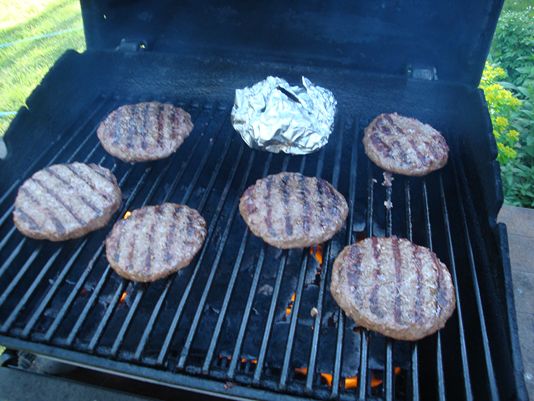
Cook the burgers for about five minutes per side, being very careful when you flip them. This is one of the few times that I will actually use a spatula, as opposed to my “golden boys”. If the patty is breached, all your hard work will be for naught. But I believe in you.
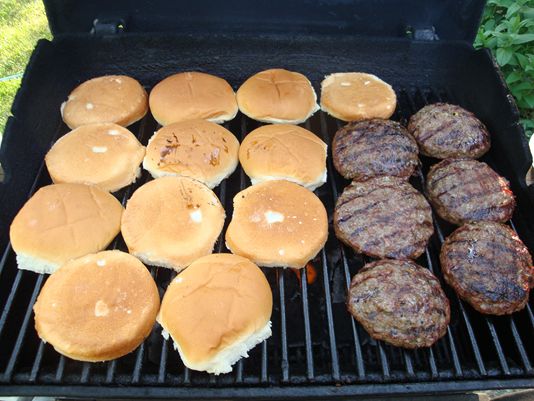
Predicting doneness is a bit tricky with these. You don’t want to press on them – ever. What you have to do is watch the juices, once you see them running clear, you should be good. Move them to the cool side of the grill or remove them to a foil-lined pan, wrap, and let them rest. Ten minutes or more is fine. This will give the cheese a chance to come back to an edible temperature.
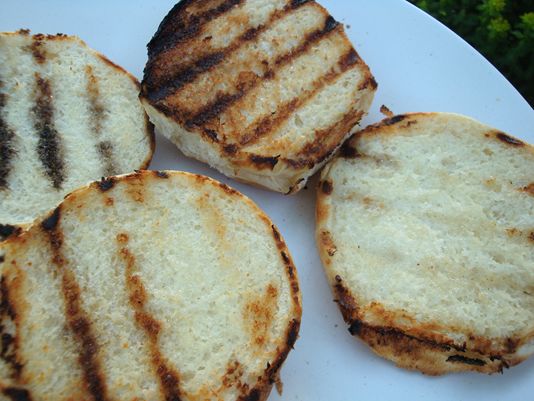
And since you’re waiting, why don’t you toast your buns (you already buttered them, right?). This is easy. Turn the grill down to low/medium. Place them on the grate face down and wait. As easy as they are to make, they are just as easy to burn. Don’t go anywhere. It will probably take two to three minutes, but it really depends on the radiant heat that your gill is putting out. It could take longer, but I guarantee you that if you turn your back for a second, they will burn, and then the party is over. Do yourself a favor and stay close.
Ok. Buns – check. Burgers – check. Fixins – check. Condiments – check. Open another Surly and have a great Memorial Day.




Actually, we tried this last night. It was great!
Thanks!
~Faith
Faith’s last blog post..Sea Monkeys!
It’s in fact very complex in this busy life to
listen news on TV, thus I only use the web for that reason, and get
the most recent news.
There are a couple of callers before me and I actually have Ad-Jd.
In addition, the poker rooms won’t offer complete hand histories of all poker hands
dealt on their site for analysis by outside sources.
If the flop doesn’t look like it helped them then its time to please take a stab at the pot.